Saturday, October 6, 2012

Too Many Bowls

 Many years ago, a very creative friend named Mary Ann, attended a quilt club meeting and demonstrated to the group how we could take ordinary cotton clothesline and transform it into beautiful and functional bowls.  She hauled in her sewing machine and explained that she would sit at her machine and wrap the little strips of scrap fabric around the clothes line when her TV shows were on, and then sew the clothesline together during the commercials.  I thought the concept was unique and looked like fun, but didn't jump into making them until several years later.  But once I jumped in, 
it was with both feet and after I finished that first bowl, I was hooked!

I have made several over the years, mostly to turn into gift baskets for Christmas or to donate to a Chinese Auction. I just tuck in a mug or 2, add a few coasters, hot chocolate, cookies, maybe coordinating napkins, and Viola! 
A hand crafted, made with love, one of a kind gift.


This was a Christmas raffle exchange a few years ago at the quilt club. Pam won this bowl. 


I took a bowl to Show & Tell at the quilt club, and the club ladies asked me to teach them. I got to turn a whole new group on to this contagious technique! 


 This is one of the largest bowls I've made. I just used scraps from my quilting scrap bag. (Quilters always have lots of scraps. We can't throw anything away!) You have to use strips that are about 1/2" wide and about 12" long.  But really, as long as you can wind it around the clothesline, it will work. A little dab of a glue stick on each end of the fabric to hold it down, and you can sit and wrap away a whole evening of your favorite TV shows. I guess I got carried away...


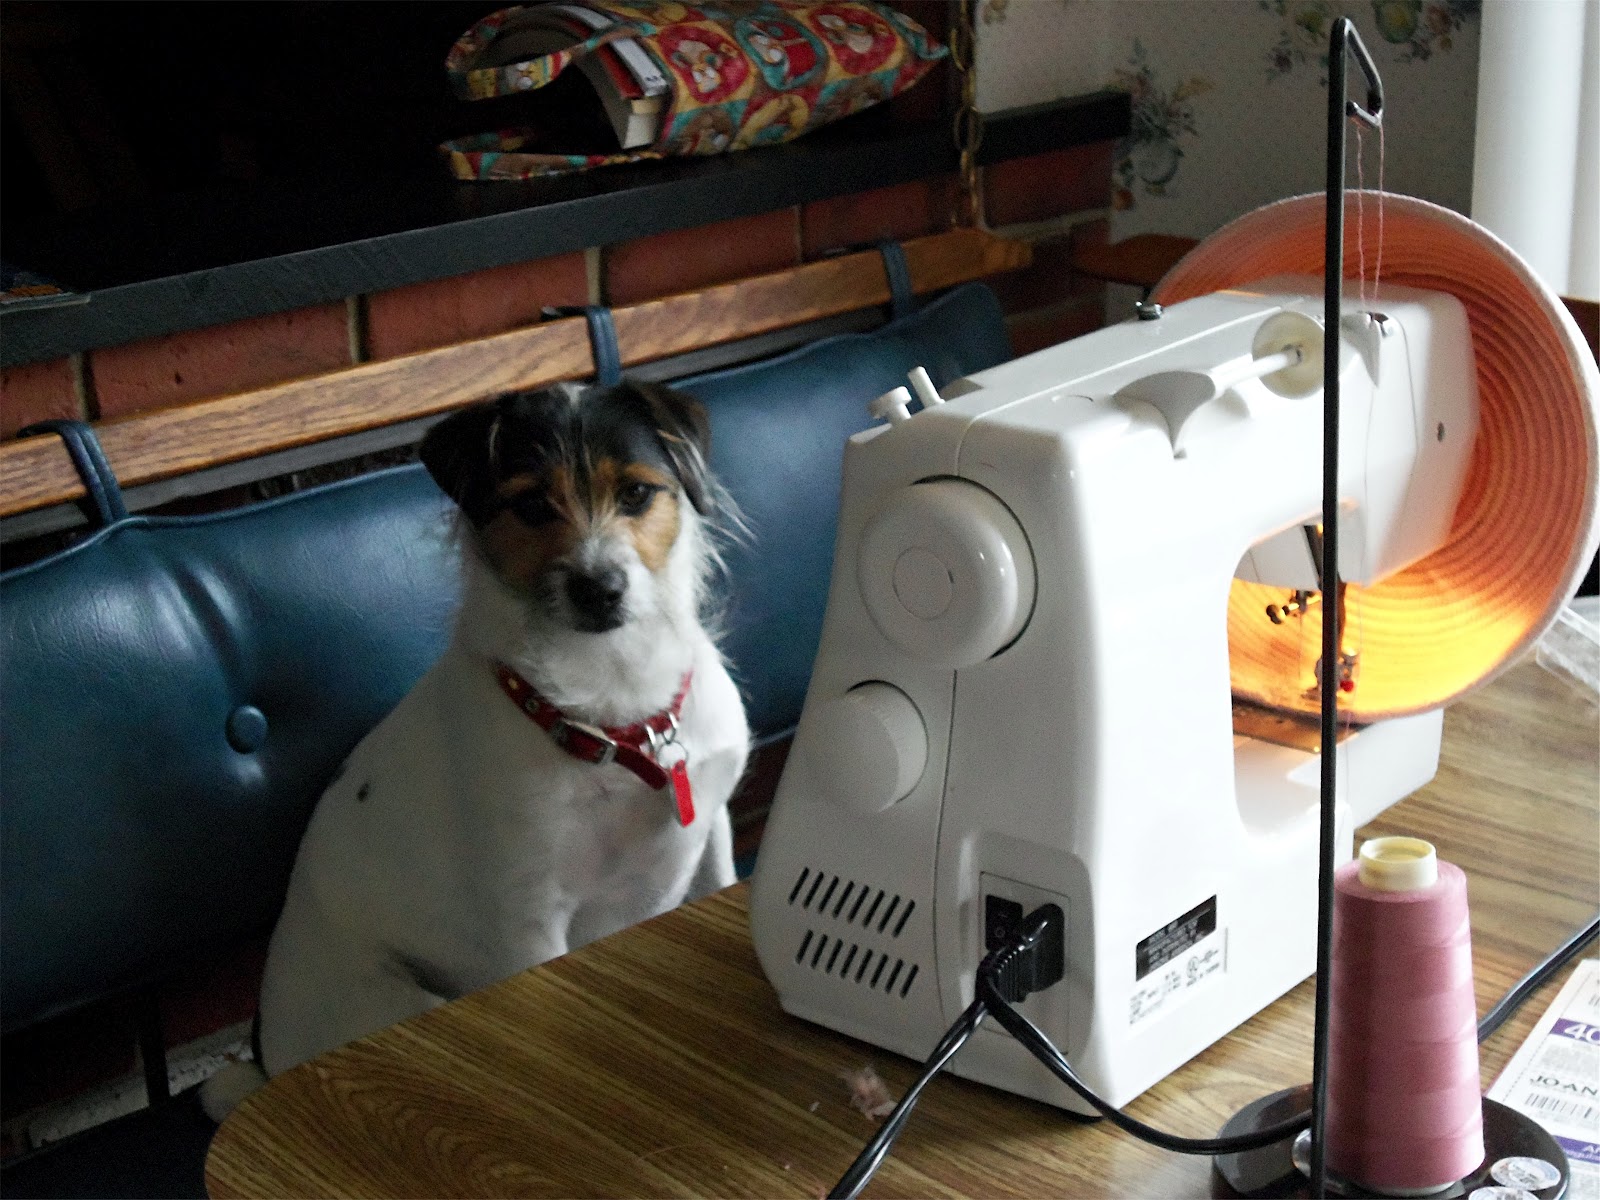
Bandit even wanted to help!


  In case you've never made one, after you wrap the clothesline, you coil it and sew it together with a zigzag stitch. In order to get the sides to go up, you hold the coil up against the machine and keep sewing around the coil. Eventually, you get sides.

My sewing room is crowded enough without adding bowls to the mix.

 After a while, the clothesline bowls started stacking up in my sewing room. I had to either stop making them, or come up with something to do with what I already had.


I put them on the table to take inventory.
What to do with all these bowls...  I decided to take them to a craft fair and see if I could sell them. It sounded like a good idea at the time, but it was an outdoor fair and you guessed it, it rained. 
Needless to say, I only sold one item, a little Mug Rug.

Some specifics on certain bowls:


Thanksgiving centerpiece maybe?

Mug Rugs, sets of 4 - the green & purple one sold at the fair.

2pc Bowl with lid
This one was made by wrapping the clothesline with white muslin and then dying 
the finished project. Not sure the technique is worthy of another attempt 
as it was supposed to be red, but the final product, with the beaded fringe attached, 
did turn out pretty.

Tote Bag
The tote bag was made without wrapping the clothesline. It's just dyed cotton clothesline shaped into a tote. See the difference in the colors? The tote and bowl were dyed in the same red bath, but they absorbed the color differently.


Bright and Cheery!
 This one was made using only one fabric, cut into strips. It was not my favorite pattern (or color) as yardage, but it turned out pretty nice as a bowl. Or what about using it to hold a plant? Violets maybe?


I decided that this red, white and blue one was just a little too "bright". I thought I could tea-dye it to tone it down. Maybe I didn't let it soak long enough. I really couldn't tell the difference in the before and after.


Kool-Aid bowls
I used cherry Kool-Aid to dye this batch of clothesline.  I wanted to try the crochet edging and you can't do that with fabric wrapped line. I'm afraid it would unravel without the stitching to hold it together.

So there you have it, I have a lot of clothesline bowls. I guess I'll have to make up some gift bowls for the holidays and surprise a few people.  If you get one, act surprised!

It would have been nice to sell them, but quilters already know that most of their items will be given away. That's just a fact, and the way we are. (And even though these aren't "quilted", the same stands true for bowls I guess. )

I personally would rather know that someone loved my bowl enough to put it out on their table or shelf, than know that I made money selling it.

Have fun BOWLING!

Tuesday, July 31, 2012

Molly's Quilt

 Molly is another of my nieces, who also happens to live far away (same country, different state). She is the daughter of hubby's sister. I don't get to see Molly much, but I enjoy the snippets I get on Facebook 
or the stories that I hear from her grandmother, who is here in PA. 

 Molly celebrated a very special occasion in October 2011, and this quilt was a 
gift to honor her as she had her Bat Mitzvah. 


 It is full of bright fun colors, and reminds me of Molly's bubbly personality. 
It's a "quilt as you go" quilt, so each individual block is pieced and quilted separately, 
then connected to the other squares with the strips between the blocks. 
It's one of my favorite ways to quilt. No wrestling a huge quilt under a small sewing machine.

 
 This is the back of the quilt.

 This was the label on the back of the quilt.


Tuesday, July 24, 2012

Baby Ivan's Quilt

This is baby Ivan. Isn't he adorable? 
His daddy and my son served together in the Army in Iraq and became good friends. 
Ivan is wrapped up in the quilt sent from me, here in PA, all the way to Texas, in 2012!

Ivan's quilt is another example of a strip quilt. 
I mentioned in another post that our quilt club had a 3" strip exchange of fun, juvenile prints.
   (If there were 20 people signed up to participate, you brought in 20 3" strips of fabric and you got back 20 assorted fabrics, all mixed up with what the other ladies brought in. A strip exchange is a lot of fun!! 
You never know what you're going to get, and you get an assortment that you 
would never be able to find or purchase on your own.)

I don't know how many strips I received all together in this particular exchange, 
but there were enough to put together three baby quilts, with a few solids and backing 
fabrics added from my stash.. Ivan's was the first one completed. 

And of course, I wasn't thinking "blog", so I didn't take any photos of the 
quilt's design or the piecing process, and had to ask Ivan's mommy to send me a photo. 

Thanks Ivan's Mommy!! 

Monday, July 23, 2012

Jenny's Quilt


 This is Jenny. She is one of my beautiful nieces, daughter of hubby's brother.
She received her quilt while here in PA for a family reunion weekend in 2012.
Coincidentally, she graduated from high school this past spring. 
My hope is that she takes it with her as she goes off to college,
letting it wrap her in the love with which it was made.

This is a strip quilt. It's made by sewing end to end, 40 2 1/2" strips of fabric 
until you have one long strip that's about 1,600" long! In quilters lingo, you can use a Jelly Roll 
(a roll of 40 2 1/2" width of fabric strips, usually put together using all the 
fabrics in a design block.) 
It's not a particularly difficult quilt to make, but it sure was fun to put together!

 We have "Show & Tell" at our quilt club meetings. I was showing the quilt to the ladies
and explaining how it was made. They loved the fun border print.

 And this is a shot of the back. You can see the beautiful quilting much better on this side.
This quilt was quilted by a friend of mine who has a long arm quilting machine.
I think she did a beautiful job!

Kristen's Quilt


Kristen is my oldest niece. She's my husband's brother's daughter.  When she was born, there were just three cousins - my two oldest sons, and her, all born within a few years of each other. Whenever we would visit Grammy's house, hubby's mom and my sweet MIL, the three of them would get a chance to play together. It was fun watching her grow up into the beautiful young woman she is today.

My goal was (and still is) to make quilts for all the cousins by the time they graduate from high school.  There are eight cousins on that side of the family (twelve if you count my four) and when it came time for Kristen to graduate, I wasn't as prepared as I should have been. I guess I procrastinated because only seeing her at her grandmother's and infrequently at that, I really didn't know what she liked. Was she a "pink and purple, ruffles and lace" kind of girl? No, I didn't think so. But I just wasn't sure what her tastes were. So around the Christmas holiday's in 2005, when she was visiting my home, I took her into my quilting room and started opening drawers and pulling out fabrics. We decided she liked BRIGHT fabrics! So that's what I went with.

 I finished her quilt in time for Christmas 2007. Late for graduation, yes. But I think she forgives me.

And of course, not realizing I would need a blog to keep track of the quilts I've made over the years, I didn't take any photos before I gave it to her. So she was kind enough to take these herself (or with a little help, I think!?!) and send them to me. Thanks, honey!!


Saturday, June 30, 2012

B's Baby Quilt

 This is "B", short for Brennen, and he's sitting on the back side of his baby quilt. 

B is my first grandchild, the son of my first son and his wife. He's just a few months past his 
second birthday in this photo, and he's holding his lovey "Peng". Peng is his sleep-time buddy. 
Some babies grow attached to a special blanket or soft toy; B's attached to a penguin. 
Just shows how unique and special he is!

 Before B was born and before we knew he was going to be a little boy, Gramma (me) started 
working on his baby quilt. I chose pastel  colors, whimsical characters and a soft yellow 
flannel for the backing, all to keep my first grand baby happy, cozy and warm. 

 It was made using the "quilt as you go" technique. Each little block was made and quilted individually, 
then put together with all the other blocks using fabrics strips (the blue around the yellow flannel). 
This block holds the quilt label.

 There are frog blocks,

 and dog blocks

 and bunnies and lambies and kitten blocks. 
In between the character blocks are blocks made up of 
jellyroll strips (2 1/2" strips of different patterned fabrics). 
As I made blocks and laid them out for the design, the quilt grew and grew. 
It ended up being much larger than a crib quilt.

 This is B's dad holding it up at the baby shower. 

And this is "B", all wrapped up in his baby quilt!
Don't you just love that smile!!

Thursday, May 17, 2012

Baby Ella's Quilt

A very special little baby girl, Ella, was recently brought into this world, parented by a lovely young lady and her remarkable husband. I had the honor of knowing Ella's grandmother through my church family. She was a wonderful woman - kind, generous, and brilliant in the ways of God. I loved to listen to her talk about Scripture and the Bible. She radiated love and made everyone in her presence feel special.  I wish I had known her better.

God took this amazing woman home just months before her granddaughter was born. I know she is smiling up in Heaven, because her daughter has brought an angel into this world. And I hope as Ella grows up she will have this quilt to wrap herself up in - a hug from me.

I made Ella's quilt before I really thought about starting the Blog, so there are no real directions on how to make it or photos of the process. It is a Rag Quilt made from flannel and bound with a satin binding.

I did snap a photo of the pieces cut, before I put them together.

 And this is Ella, on the finished quilt. Isn't she an angel?

God Bless you Baby Ella, and your mommy and your daddy! You are indeed a very special little girl.

Tuesday, May 8, 2012

Little Monkey Baby Quilt

I've procrastinated long enough. It's time to see if I can put the directions for the Little Monkey Baby Quilt into a Blog in some reasonably understandable fashion.  I'm just going to dive right in here, so if I seem to be gasping for air, throw me a rope!

This is a corner of the Little Monkey Baby Quilt. Why did I pick that name? Well, our quilt club did a fabric exchange - 3" strips, width of fabric, in juvenile or children's patterns. I have put together 3 quilts using the strips (I'll post photos in another blog) and this will be the 4th. I had only the monkey strips left from all the many different ones I received. They were white and just didn't seem to go with all the other brightly colored strips, so I put them aside. I purchased a scrap bag while on a recent trip to Lancaster with hubby and the fabrics in it just seemed perfect for the little monkeys.  OK, enough rambling. Let's see how it went together.

 I started with 10 3" strips. (Now if you buy a Jelly Roll to try this, remember that those strips are 2 1/2" wide. It can certainly be done, but the measurements will be a little different and the quilt will be smaller unless you add blocks.)

Sew 2 strips, width of fabric,  right sides together and press the seam toward the darker fabric.

Cut your long 2 fabric strips into squares. If you measure the width of the strip, it's 5 1/2" wide, so your squares will be a 5 1/2" square. Depending on the actual length of the strips and accounting for cutting off the selvages, you should get about 7 squares from each 2 strip set.

 Match 2 of your squares right sides together with your seams horizontal, making sure the pressed seams go opposite each other. (One should point up and one should point down.)

Pin together on opposite corners and mark the square using a very handy 1/4" ruler. Place the ruler with the center line lining up with each corner. Draw lines along both sides of the ruler. These will be your sewing lines.

Yes, I know this photo is on it's side. (I told you I was new to this Blog thing.) I can't figure out how to rotate it, so let's just pretend I did it this way on purpose. I chain stitched along the marked lines on each block.

 Now the magic happens. You cut between the stitched lines...

 and take the resulting triangles to the ironing board.

When you press them open, this is the result. Two neat looking squares with little half square triangles imbedded in opposite corners. Take the blocks back to your cutting mat and square them up to 5" blocks.

Lay out your blocks in a pleasing pattern. This little baby quilt is 5 blocks down and 6 blocks across. I didn't use all the blocks and now realize that the next time I document the making of a quilt I need to be much more conscious of just how much fabric the actual quilt will take.
 
Sew the blocks together either in rows or by making 4 block squares (with an additional row), using a 1/4" seam allowance. Add a border, your choice in width. This one was 3" wide.

Make your quilt sandwich using a coordinating backing fabric and batting. I generally use Warm and Natural. I pinned the three layers together and thought about how to quilt the layers.

 I decided to practice my stippling on the quilt, using white thread in the body.  I stitched once around the border with a straight stitch. Aren't the little monkeys cute?

Bind your finished quilt using 2 1/2" wide binding fabric, folded in half and sewn on with a 1/4" seam. I used scraps of some of the fabrics   in the quilt body to make the binding. As a finishing touch, I used a decorative stitch from my sewing machine in the border. It's kind of hard to see here, but I used a variegated purple thread once around the border. (If you go back to the very first photo you can see the decorative stitching better.)

There you have it. Directions for the Little Monkey Baby Quilt. If you decide to try to make it and have any problems with my instructions, please let me know. Like I said, I'm new to this Blog stuff.